
One of the advantages of writing code in Rust is that it can be re-used in other places. Both iOS and Android allow using native libraries within your apps, and Rust compiles to native. Web pages can now use WebAssembly (WASM), and Rust can compile to WASM.
So, it should be easy, right?
Well, in practice it seems a little tricky, so I created a small example project to explain it to myself, so maybe it’s helpful to you too.
The full code is at gitlab.com/andybalaam/example-rust-bindings, but here is the general idea:
- crates/example-rust-bindings – the real Rust code
- bindings/ffi – uniffi code to build shared objects for Android and iOS
- bindings/wasm – wasm_bingen code to build WASM for Web
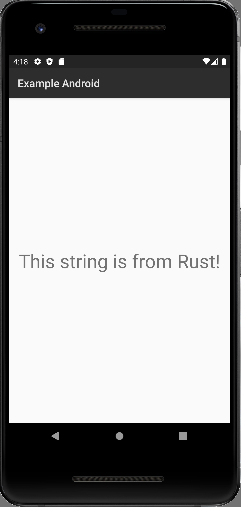
- examples/example-android – an Android app that generates a Kotlin wrapper, and runs the code in the shared object
- examples/example-ios – an iOS XCode project where we generate Swift bindings, so we can call the code in the shared object
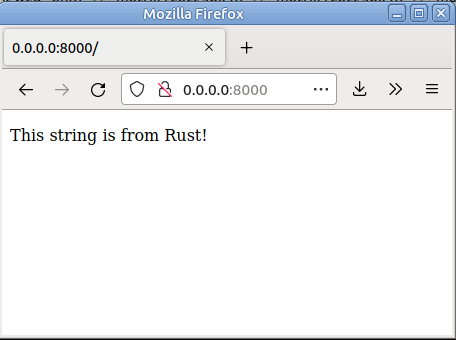
- examples/example-web – a web page that imports the WASM and runs it
Steps for WASM
- Write normal Rust code e.g. crates/example-rust-bindings/src/lib.rs (and Cargo.toml etc. to go with it, with nothing special in it)
- Write wasm-bindgen wrappers for all interfaces you want to expose e.g. bindings/wasm/src/lib.rs (and Cargo.toml to go with it, depending on wasm-bindgen). This basically involves creating structs and functions annotated with #[wasm_bindgen] that call through to the real underlying code from the previous step.
- Write a package.json with a build step that calls wasm-pack e.g. bindings/wasm/package.json
- Build the bindings with npm (see bindings/wasm/README.md)
- Copy the generated .js and .wasm files into a web project
- Include the generated .js file into an HTML file using an import statement in a module e.g. examples/example-web/index.html
Variation: if you modify the build script in package.json to call wasm-pack with --target node instead of --target web you can generate code suitable for using from a NodeJS module.
Steps for Android
- Write normal Rust code e.g. crates/example-rust-bindings/src/lib.rs (and Cargo.toml etc. to go with it, with nothing special in it)
- Write a UDL file to describe your interfaces e.g. bindings/ffi/src/my_rust_code.udl
- Implement those interfaces in some Rust code, wrapping returned values in Arc e.g. bindings/ffi/src/lib.rs.
- Write a Cargo.toml that builds the bindings e.g. bindings/ffi/Cargo.toml
- Generate uniffi bindings scaffolding during the Cargo build by writing a build.rs file e.g. bindings/ffi/build.rs
- Get the Android NDK and set up Cargo’s config to use it to build – see bindings/ffi/README.md
- Cross-compile for the Android platforms you need by adding the targets using rustup and then building using cargo build --target=blah – see bindings/ffi/README.md
- Copy the built .so shared object files into your Android project under `jniLibs/INSERT_PLATFORM` – see bindings/ffi/README.md
- In your Android project, add a android.applicationVariants.all section to your app/build.gradle that generates Kotlin wrappers around the shared objects e.g. examples/example-android/app/build.gradle
- Now you can write normal Kotlin that accesses your Rust code via a namespace like uniffi.my_rust_code e.g. MainActivity.kt
Steps for iOS
- Write normal Rust code e.g. crates/example-rust-bindings/src/lib.rs (and Cargo.toml etc. to go with it, with nothing special in it)
- Write a UDL file to describe your interfaces e.g. bindings/ffi/src/my_rust_code.udl
- Implement those interfaces in some Rust code, wrapping returned values in Arc e.g. bindings/ffi/src/lib.rs.
- Write a Cargo.toml that builds the bindings e.g. bindings/ffi/Cargo.toml
- Generate uniffi bindings – see bindings/ffi/README.md
- Cross-compile for the iOS platforms you need by adding the targets using rustup and then building using cargo build --target=blah – see bindings/ffi/README.md
- Combine together the built libraries using lipo – see bindings/ffi/README.md
- Copy the combined .a library file into your XCode project – see bindings/ffi/README.md
- Generate an XCode project with xcodebuild – see bindings/ffi/README.md
- Now you can write normal Swift that accesses your Rust code [TODO: details]

