For our latest Egham Raspberry Pi Jam, we worked on a photo booth program, using the Raspberry Pi camera. Here’s how we did it.
Downloads: funniest-photo-game.odp, photo-booth.zip.
Update 1: fixed a bug where it tried to create a directory that already exists
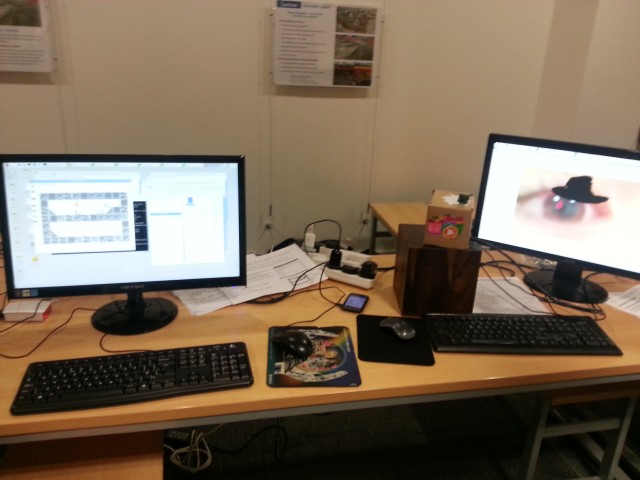
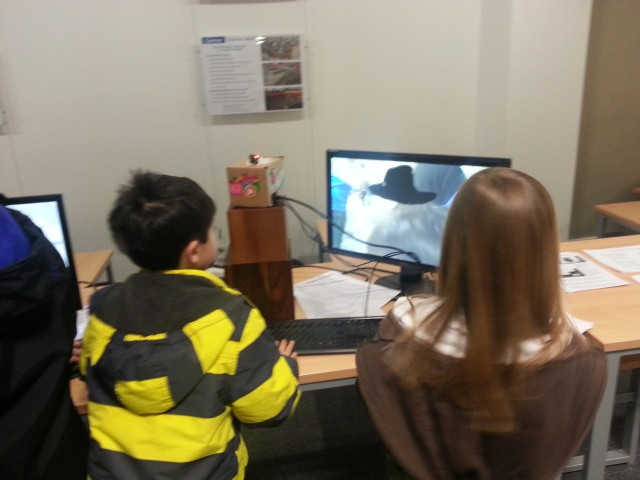
Update 2: see the winning photo!
Equipment
What we did
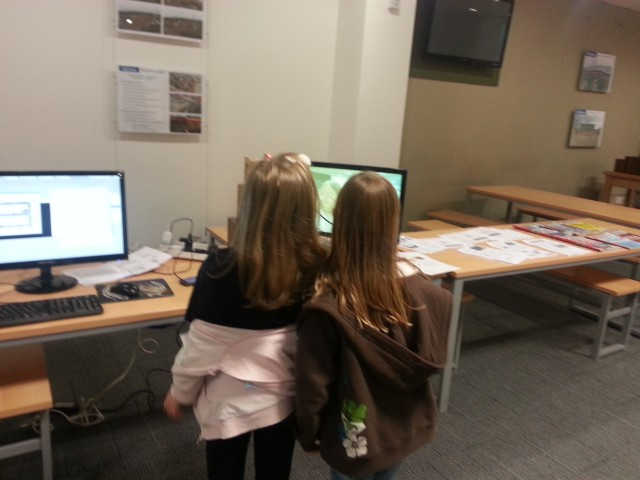
- Made and decorated a box that held the Pi and camera steady for taking photos:
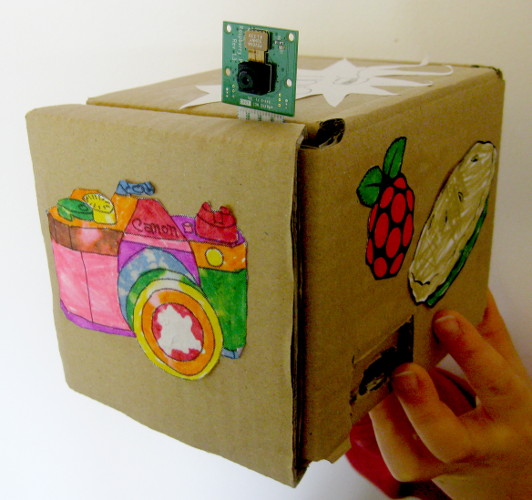
(Note the holes for the wires!)
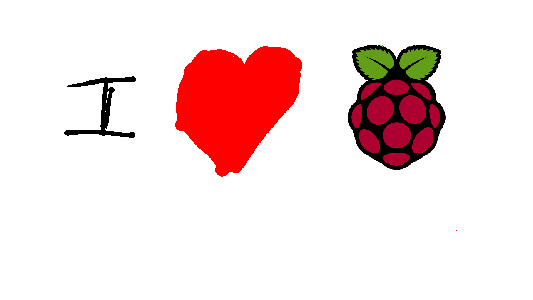
- Created some costumes (see “Costumes” below)
- Wrote a Python program (see “Program” below) to display pictures on top of the camera picture, and take photos
- Wrote up the instructions and competition rules
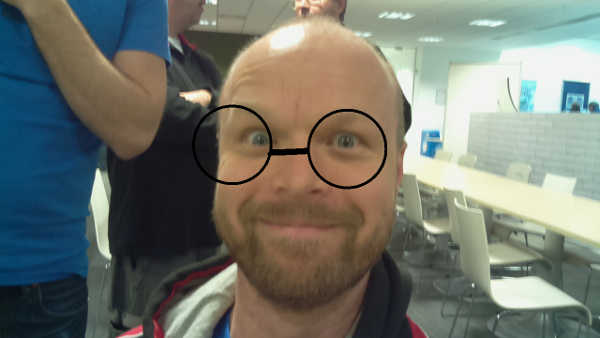
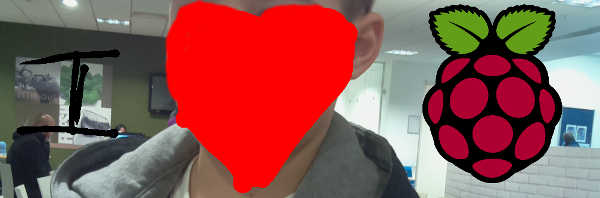
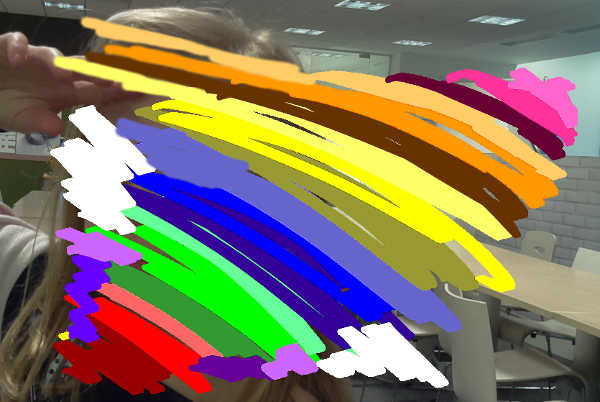
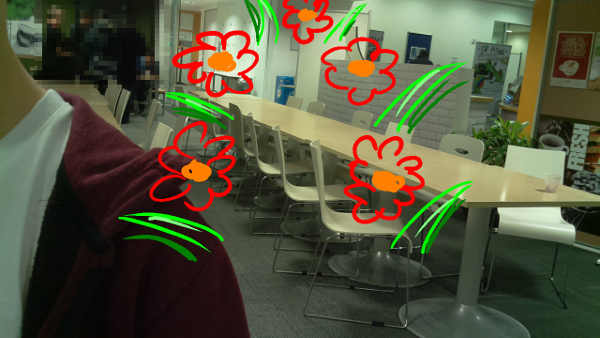
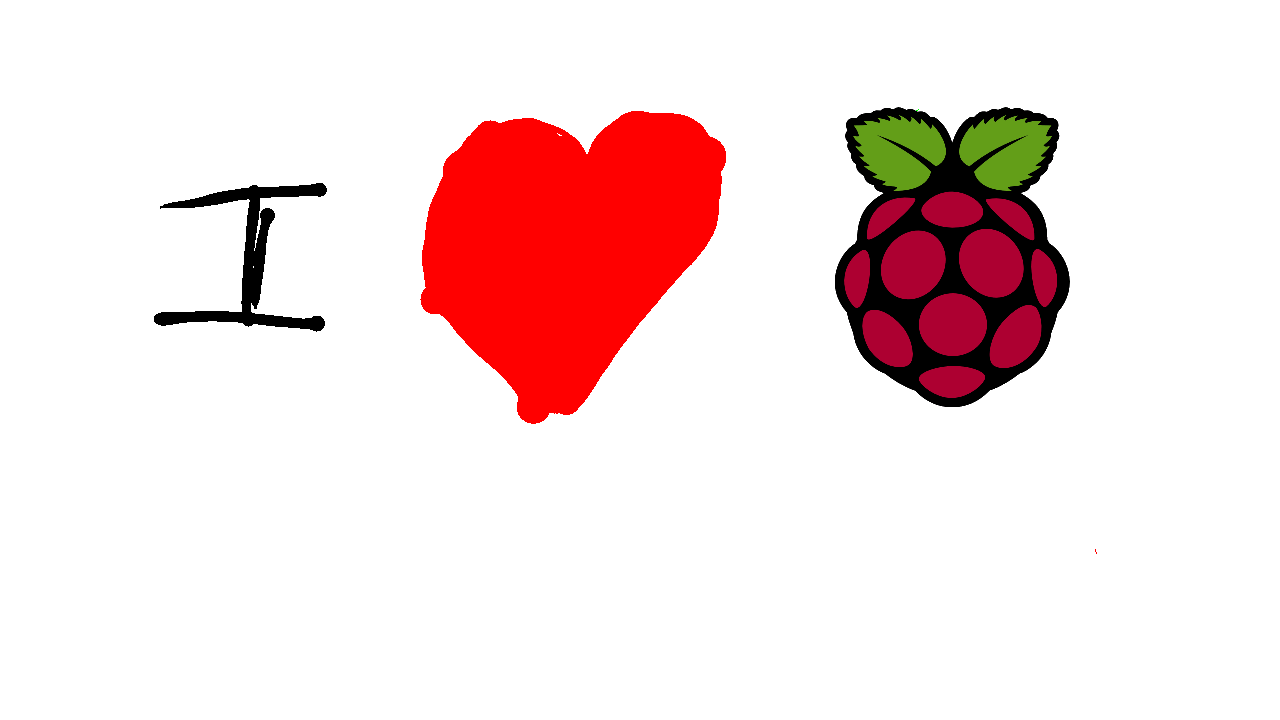
Costumes
We made lots of costumes that show up over the picture. They all needed to be 1280×720 pixels, PNG files that use Indexed Color mode. (In Gimp we clicked “Image”, then “Mode”, then “Indexed Color” before choosing “File” then “Export” or “Overwrite” to save them as .png files.)
Here are some examples:

Once we’d made the costumes we put them in a directory called “costumes” next to the program file, photo-booth.py.
Setup
To get the Pi ready to run our program we needed to type these commands:
sudo apt-get update
sudo apt-get install python-picamera
sudo apt-get install python-imaging
Once we’d done this, we created the Python program and directories described in the next section, and then we ran the program with:
python photo-booth.py
Program
We made a directory to hold our program on the Desktop of our Raspberry Pi, which we called “photo-booth”. Inside that, we made a “costumes” directory containing our costumes, and a “gallery” directory to hold the saved photos. Also inside “photo-booth” we saved this code as “photo-booth.py”:
import io
import picamera
from PIL import Image
import time
import pygame
import subprocess
import os

class PhotoBooth:
    def __init__( self, camera ):
        self.camera = camera
        self.costumes = os.listdir( 'costumes' )
        self.current_overlay = None
        self.cos_num= 0
        self.current_costume = None

        self.set_up_camera()

        self.change_costume(0)

    def set_up_camera(self):
        self.camera.resolution = ( 1280, 720 )
        self.camera.framerate = 24
        self.camera.start_preview()

    def change_costume(self, change):
        self.cos_num += change
        self.cos_num = self.cos_num%len(self.costumes)
        self.current_costume = Image.open( 'costumes/'+self.costumes[self.cos_num])
        self.overlay(self.current_costume, 128)

    def overlay(self, image, alpha):
        pad = Image.new('RGB', (
            ((image.size[0] + 31) // 32) * 32,
            ((image.size[1] + 15) // 16) * 16,
            ))
        pad.paste(image, (0, 0))

        if self.current_overlay is not None:
            self.camera.remove_overlay(self.current_overlay)

        self.current_overlay = camera.add_overlay(pad.tostring(), size=image.size)
        self.current_overlay.alpha = alpha
        self.current_overlay.layer = 3

    def take_photo(self):
        stream = io.BytesIO()
        camera.capture( stream, format='jpeg' )
        stream.seek( 0 )
        captimg = Image.open( stream )
        imgrgba = self.current_costume.convert("RGBA")
        captimg.paste( imgrgba, ( 0, -100 ), imgrgba )
        self.overlay(captimg, 255)
        captimg.save( 'gallery/photo%d.png' % time.time().real )
        self.overlay(self.current_costume, 128)

    def run(self):
            while True:
                for event in pygame.event.get():
                    if event.type == pygame.QUIT:
                        return
                    if event.type == pygame.KEYDOWN:
                        if event.key == pygame.K_LEFT:
                            self.change_costume(1)
                        if event.key == pygame.K_RIGHT:
                            self.change_costume(-1)
                        if event.key == pygame.K_SPACE:
                            self.take_photo()
                        if event.key == pygame.K_ESCAPE:
                            return
                        if event.key == pygame.K_g:
                            subprocess.call('ls gallery/*.png | head -1 | xargs xdg-open', shell = True)
                            return
                    if event.type == pygame.MOUSEBUTTONDOWN:
                        self.take_photo()

pygame.init()
pygame.display.set_mode()
if not os.path.exists( 'gallery' ):
    os.makedirs( 'gallery' )

with picamera.PiCamera() as camera:
    booth = PhotoBooth( camera )
    booth.run()
Download code and costumes
You can download the code and costumes we used here: photo-booth.zip.
If you have any questions, feel free to leave a comment below!


